English


Avahost Email Hosting Quick Start
Before You Start
Avahost Email Hosting lets you run professional email on your own domain and manage everything from the Avahost client area. This guide covers the fastest setup path for Email Hosting – Solo: connect a domain, complete the order, add the required DNS records, finish DKIM, and sign in to webmail.
You will need:
- An Avahost account
- A domain you already own
- Access to the DNS zone or nameservers for that domain
This guide follows the I will use my existing domain and update my nameservers flow. If you want to buy a new domain from Avahost instead, see the additional section at the end.
🚨Important: values such as the verification token and DKIM key are unique to your service. Always copy the records from your own Avahost panel.
1. Open the order page and connect your domain
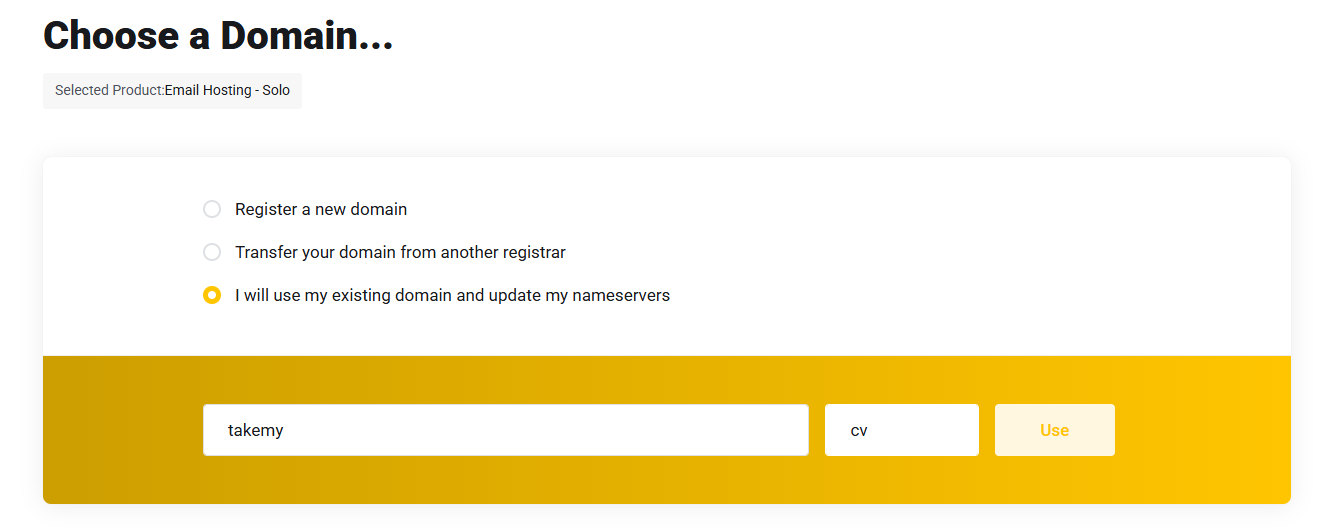
Go to https://my.ava.hosting/store/email-hosting/email-solo. Choose I will use my existing domain and update my nameservers, enter your domain, and click Use.
2. Choose billing and complete the purchase
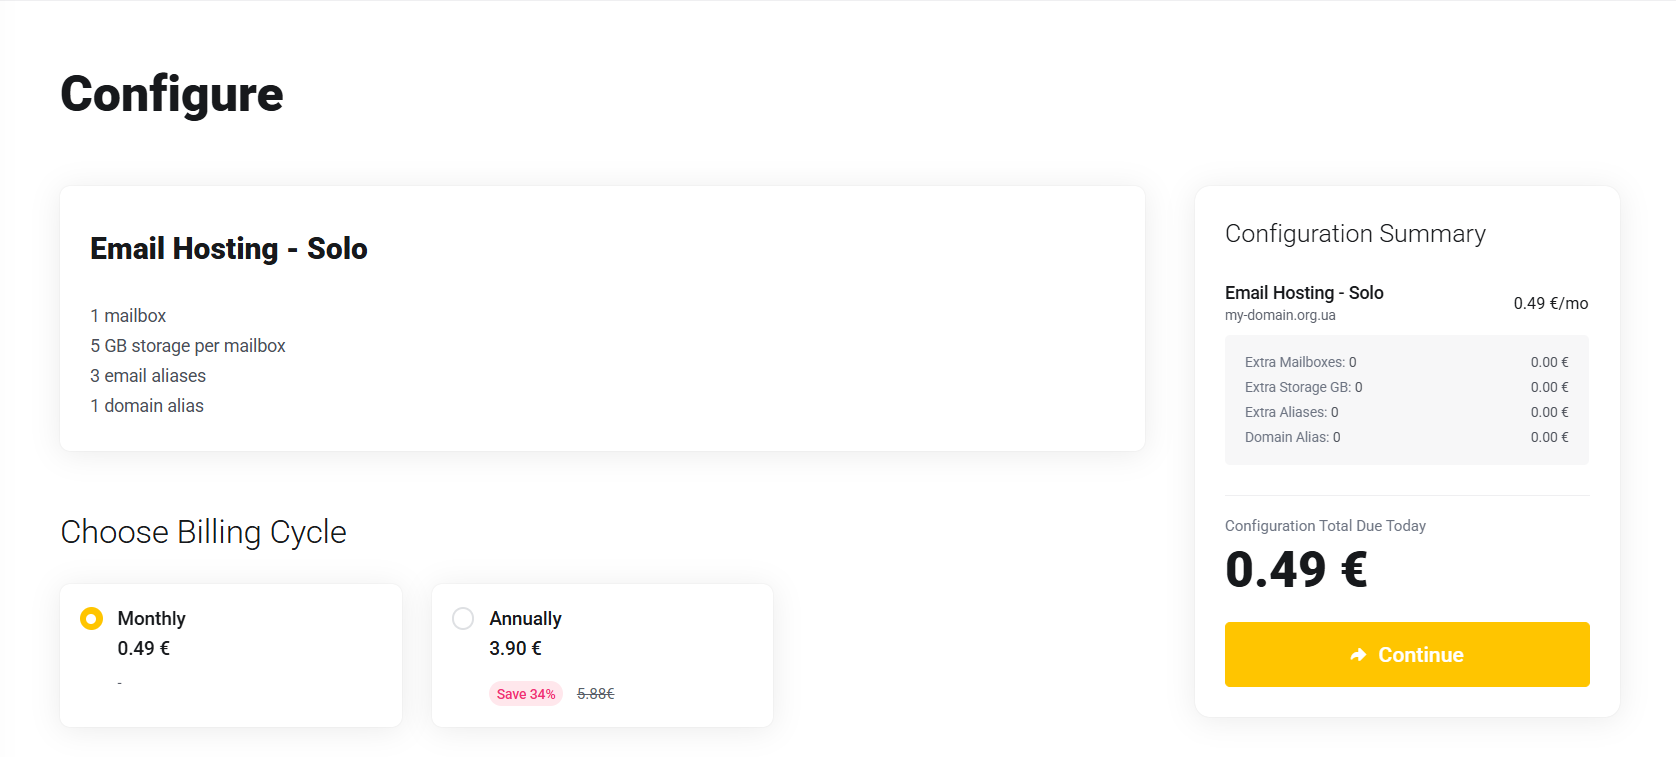
After the domain is attached to the order, review the Email Hosting – Solo configuration, choose your billing cycle, and continue through checkout to complete payment.
3. Open the service in your client area
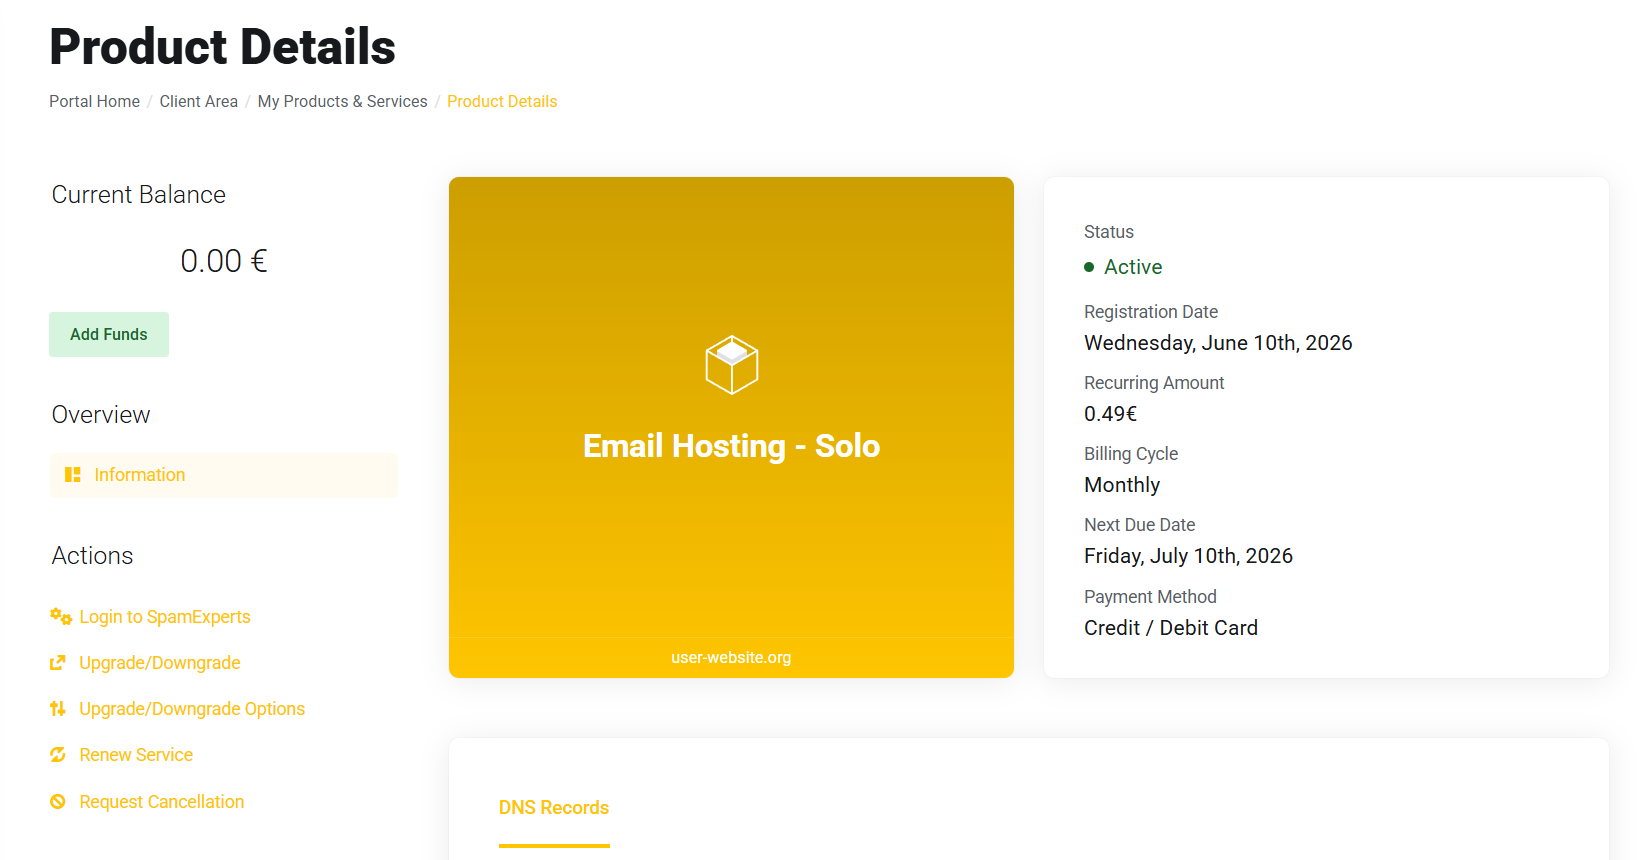
After payment, go to https://my.ava.hosting/clientarea.php. Under Active Products/Services, open Email Hosting – Solo. This page shows the service status and the DNS records required for activation.
4. Add the DNS records to verify the domain
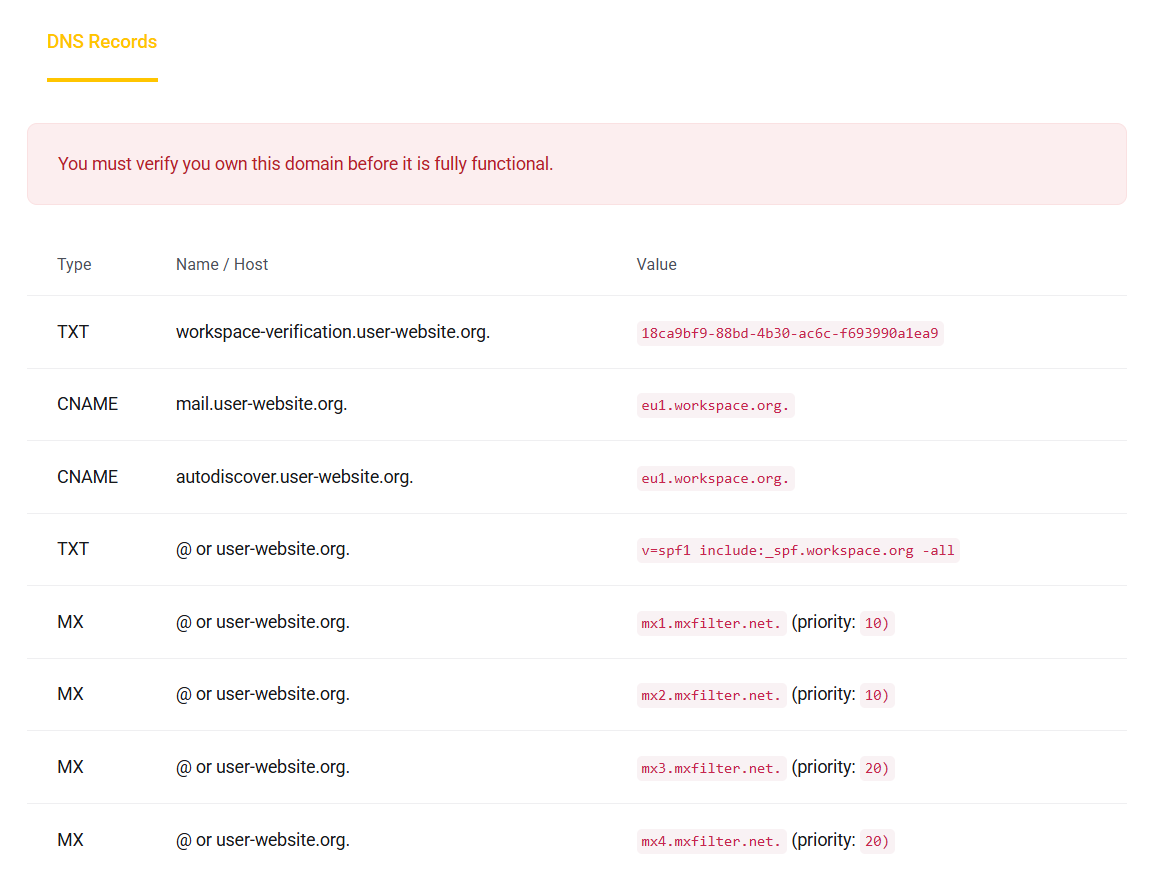
In the DNS Records section, copy the records shown by Avahost and create the same records where your domain DNS is managed. If your domain uses external nameservers, make these changes there.
Add every record exactly as shown in your panel:
- the verification TXT record
- the mail CNAME
- the autodiscover CNAME
- the SPF TXT record
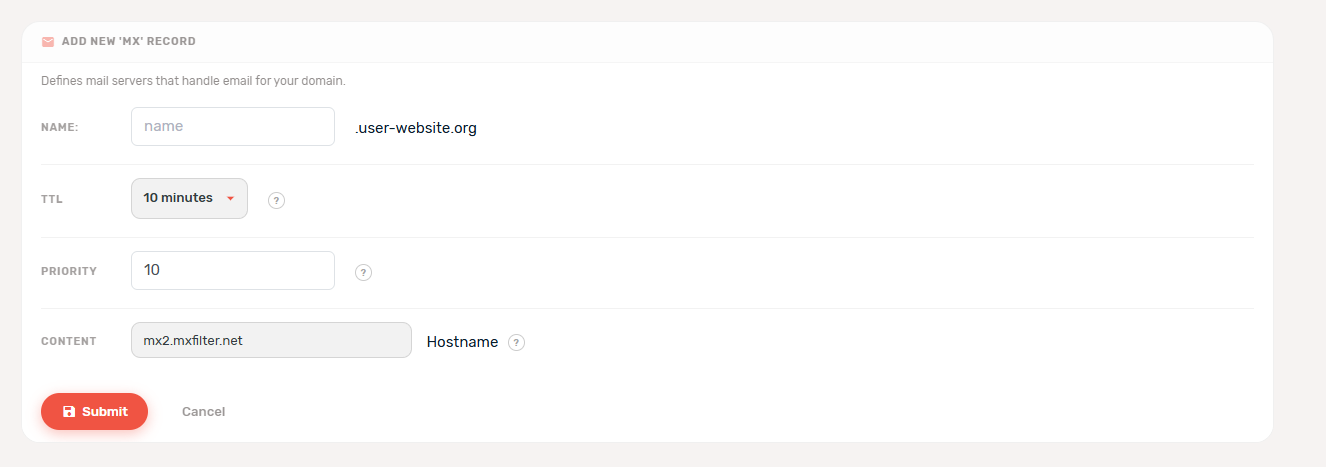
- all listed MX records with the correct priority
This is an example of how one MX record can look inside a DNS manager. Repeat the same process for each record required by Avahost.
5. Wait for DNS verification to complete
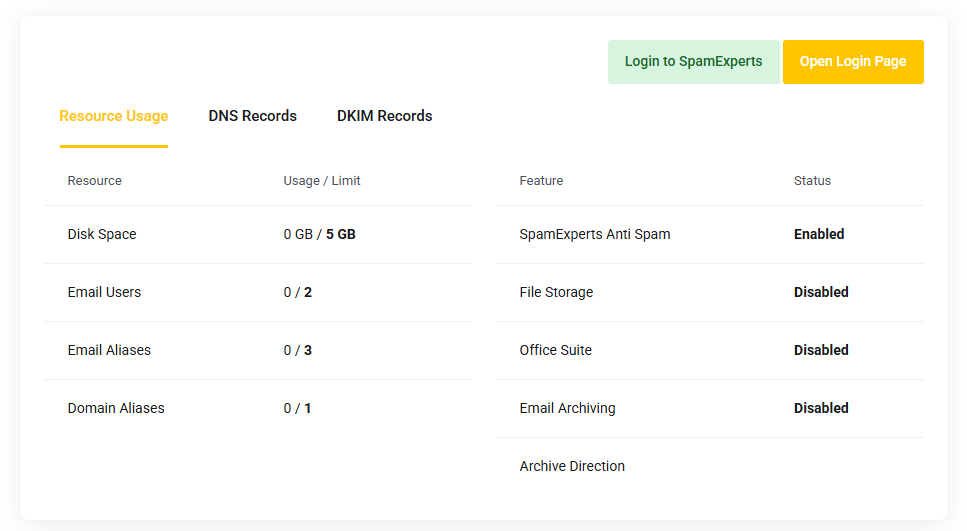
Once the DNS records are saved and propagated, the service becomes functional. You will then see the normal product view with resource usage and record tabs.
6. Add the DKIM record
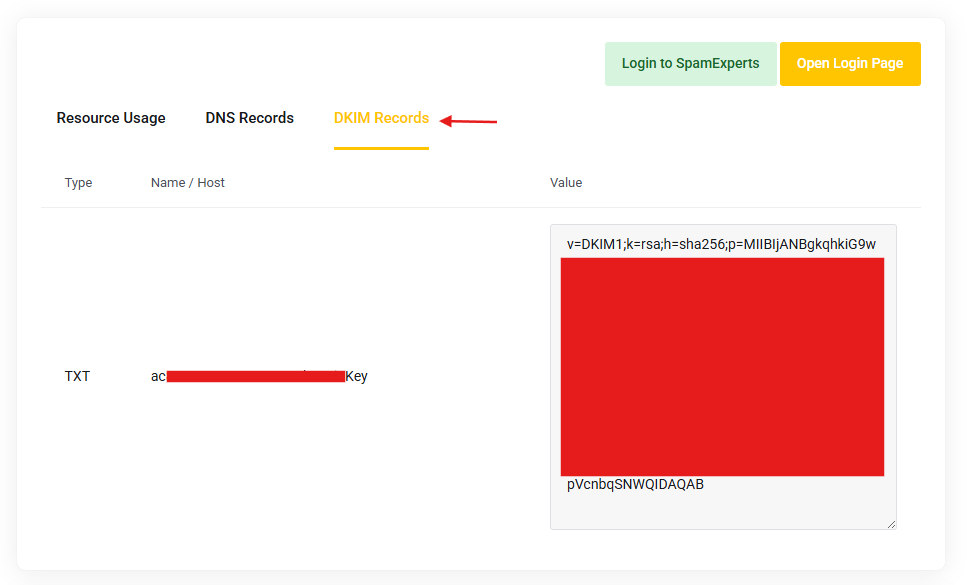
Open the DKIM Records tab and add the TXT record shown there to your domain DNS zone. DKIM improves deliverability and helps confirm that mail sent from your domain is authorized.
Copy the Type, Name / Host, and Value from your own Avahost panel.
7. Open the webmail login page
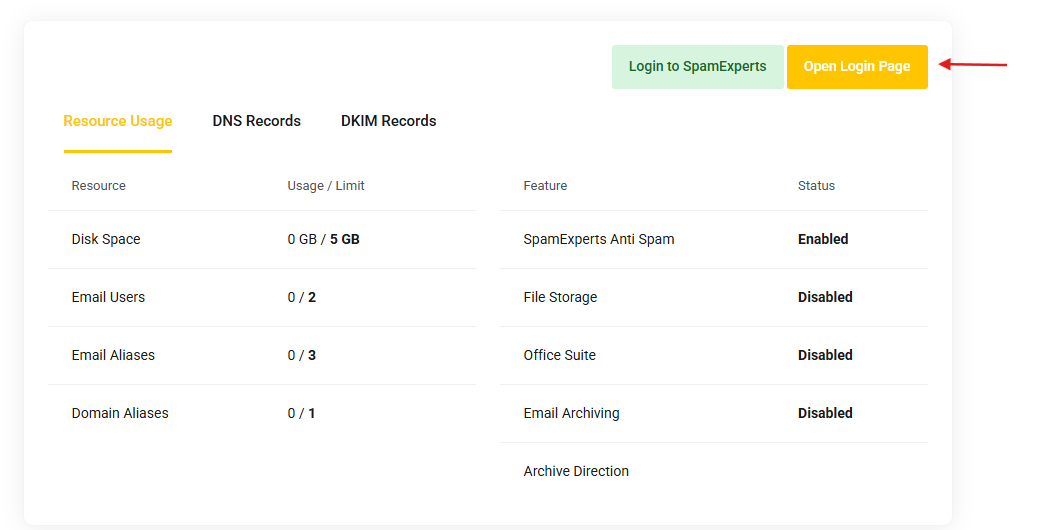
From the service page, click Open Login Page, or go directly to https://workspace.org/.
8. Sign in to Workspace webmail
You will be taken to the Workspace sign-in page. On some accounts you may be redirected to a regional address such as eu1.workspace.org.
Leave Login To set to Webmail / Administration, then enter your mailbox credentials.

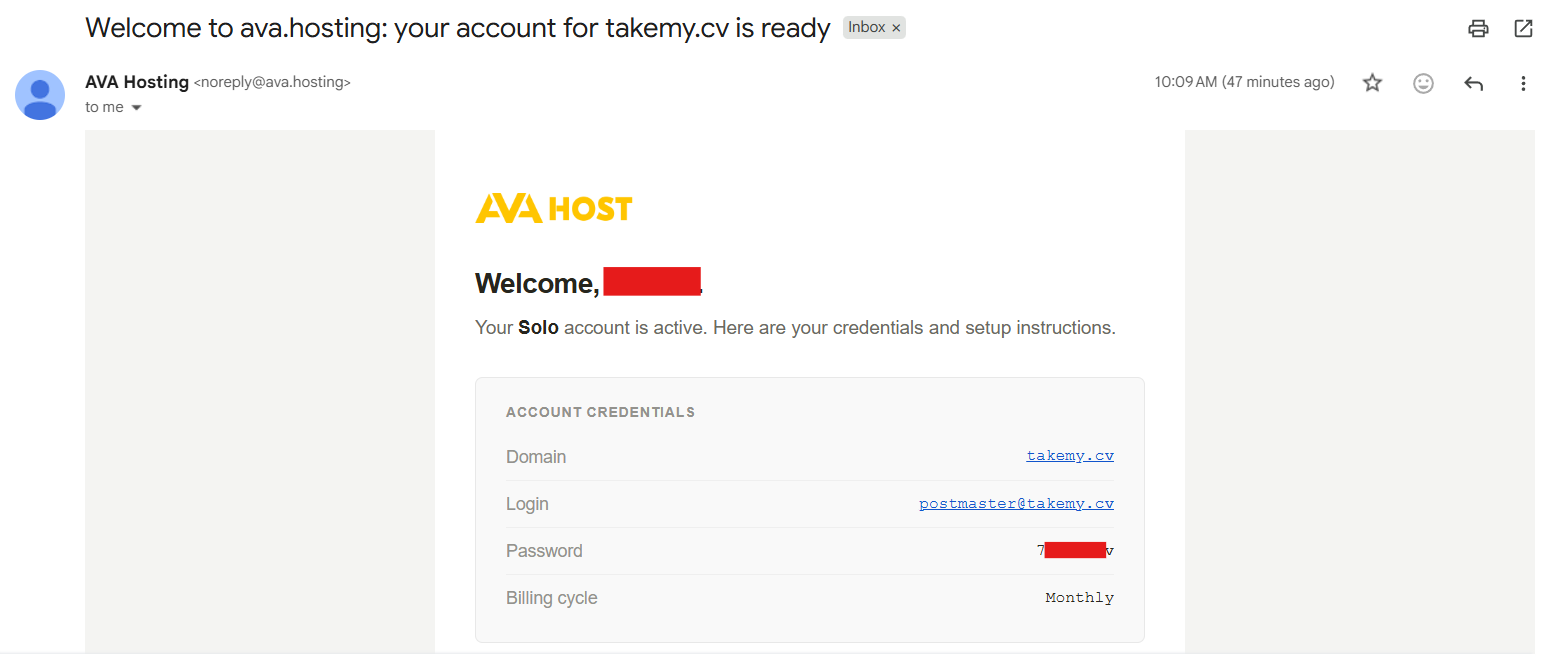
9. Use the credentials from your welcome email
Avahost sends the mailbox login details to the email address used for your Avahost account. Use the username and password from that message to sign in.
For a new Email Hosting – Solo setup, the first mailbox is typically the initial account shown in the welcome email.
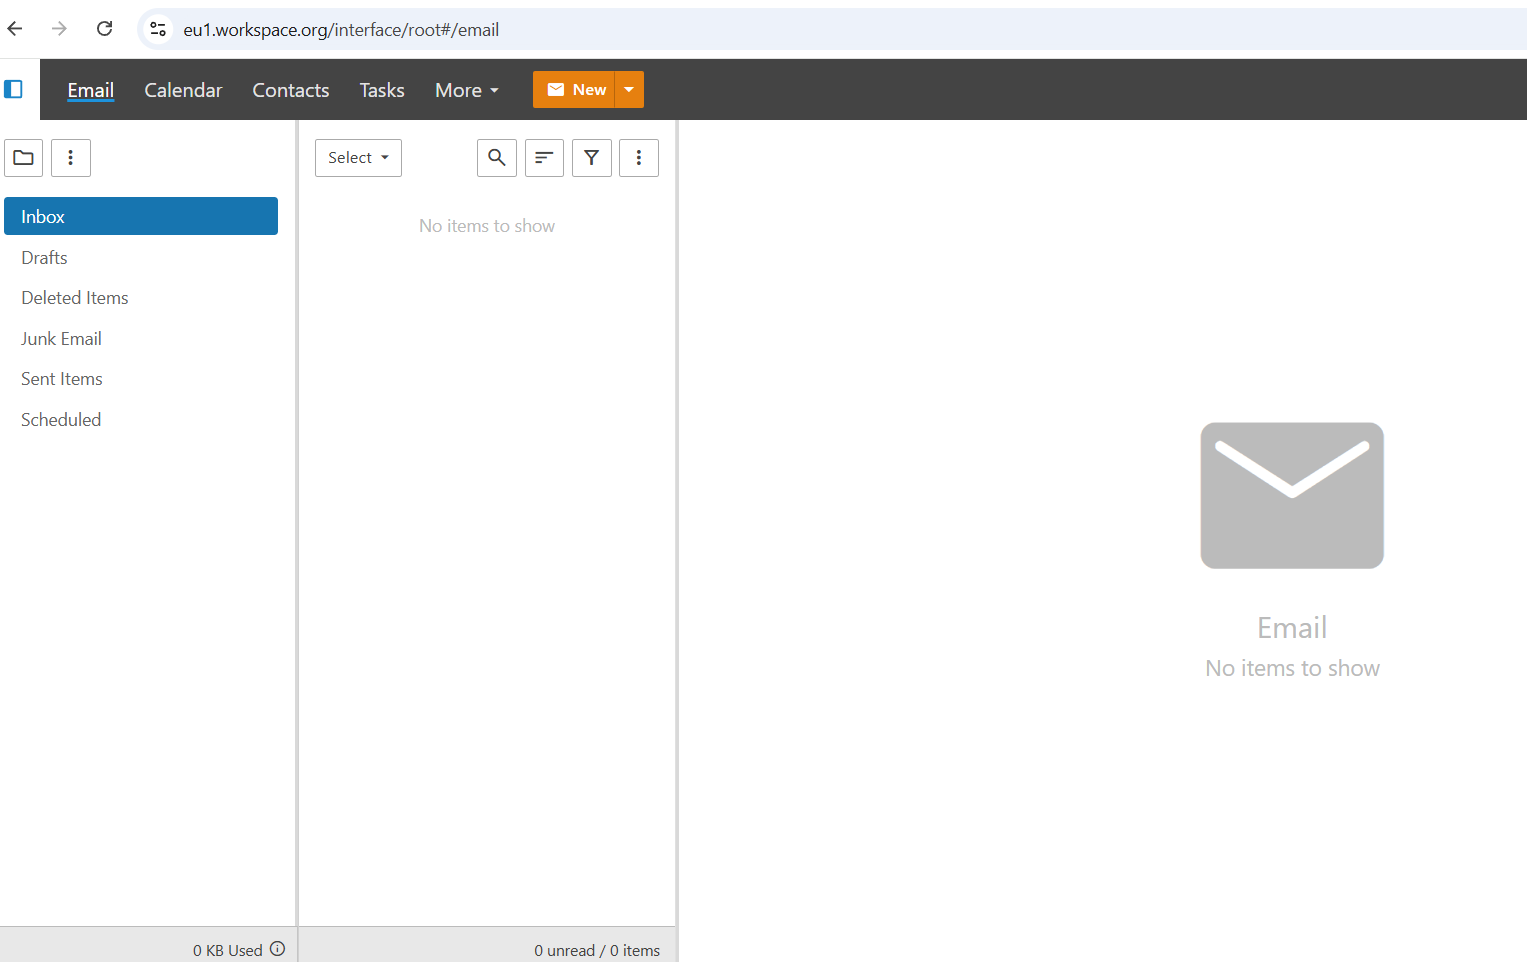
10. Start using your mailbox
After login, you will arrive in the webmail interface and can begin sending and receiving email.
Additional Path: Buy a New Domain on Avahost
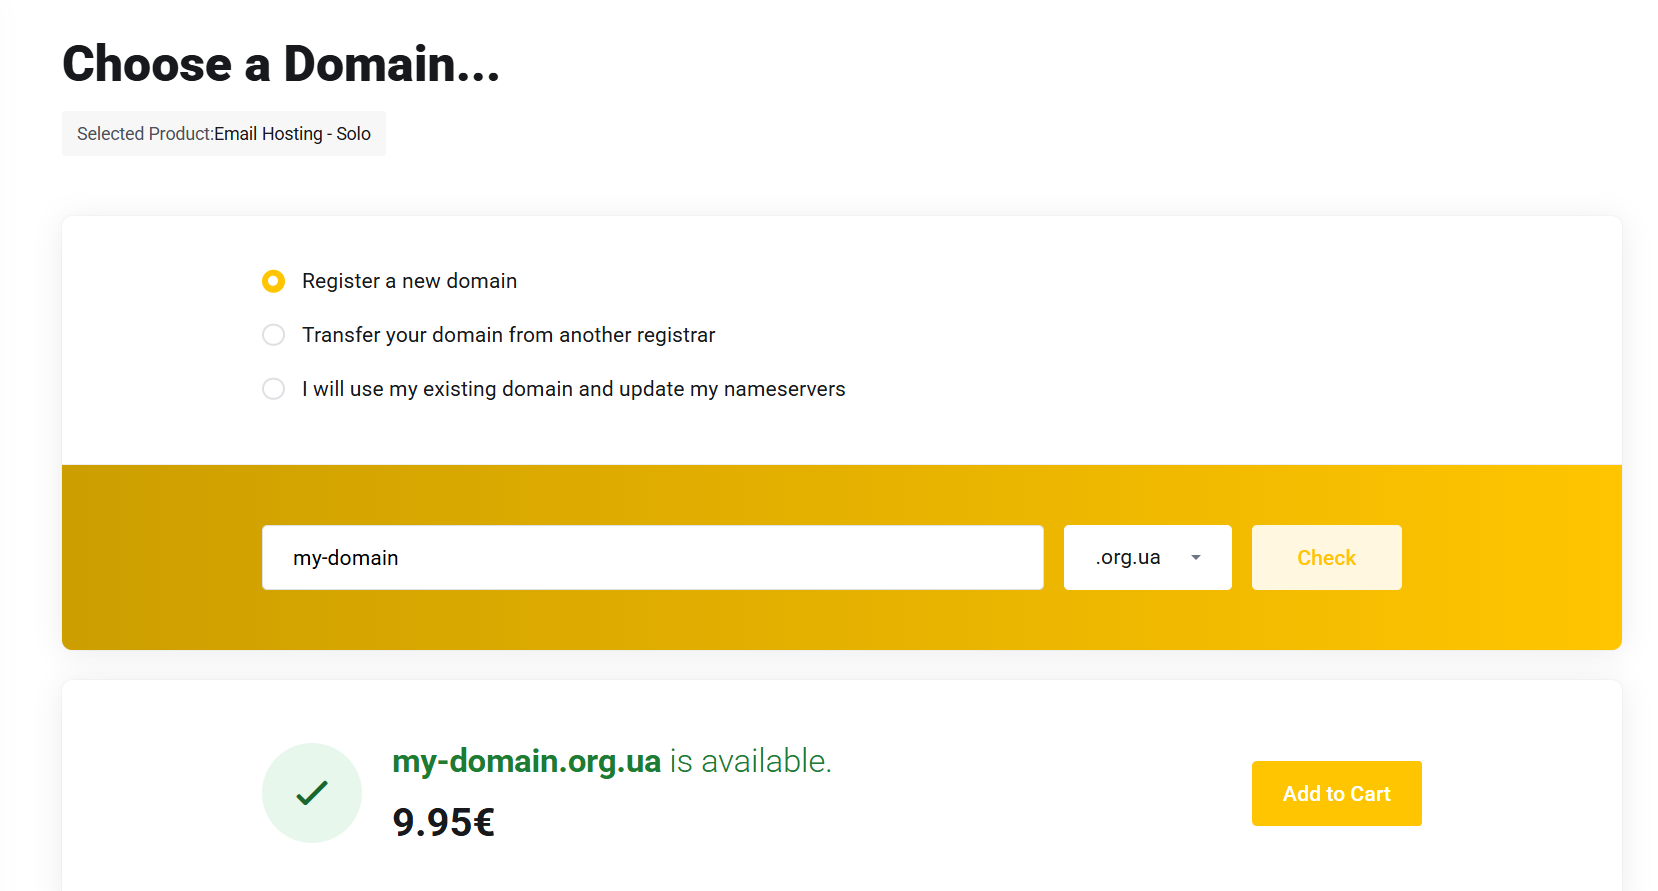
If you do not already have a domain, you can register one during the same order flow instead of connecting an existing domain.
A. Choose Register a new domain
Search for the domain you want, check availability, and add it to the cart.
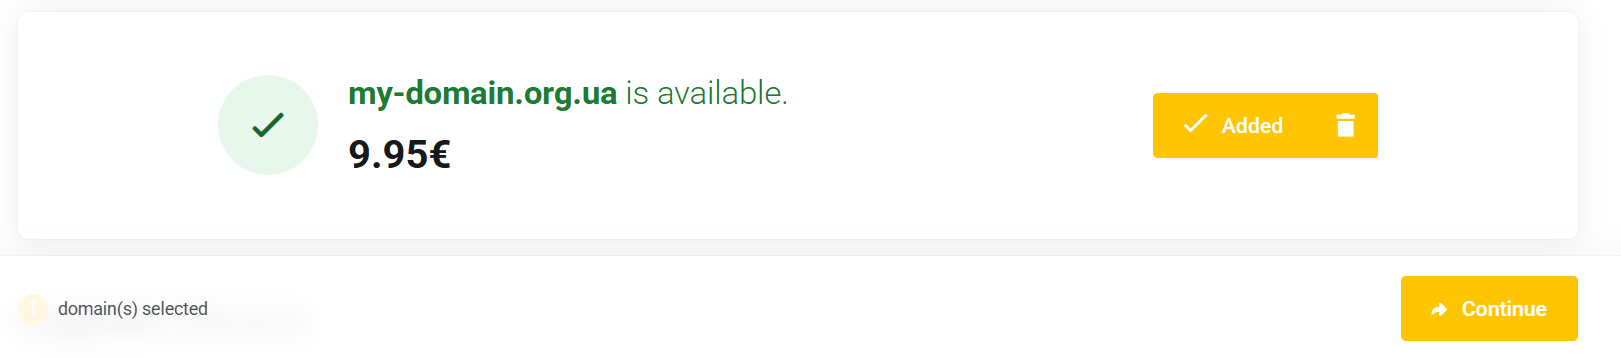
B. Confirm the domain and continue
Once the domain is added, continue to the next checkout step.
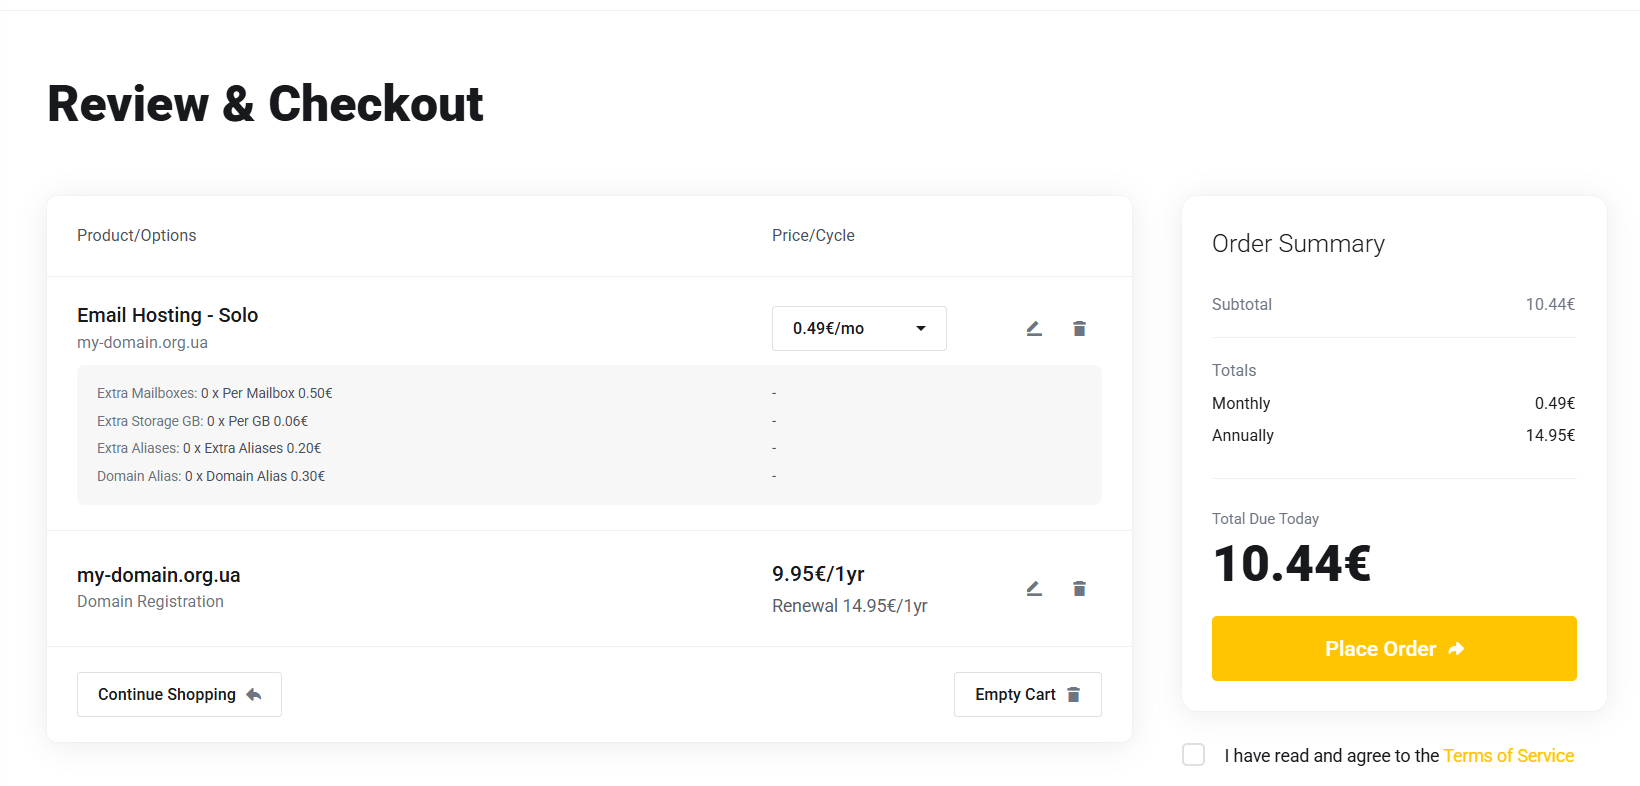
C. Review the order and place it
At checkout, review both the domain and Email Hosting – Solo, then place the order. After purchase, open the service in your client area and continue with the DNS and login steps from the main guide above.
Related Posts